
기록장
[안드로이드] Fragment 이해하기(4) / NavigationDrawer 네비게이션 드로어 본문
포스팅을 보시는 분들은 제목이 "Fragement 이해하기" 인데 왜 내용은 이렇지? 라고 생각하시는 분들도 계실 것이다. 이전 포스팅도 그렇고 프래그먼트와 상관없이 구현할 수 있지만 프래그먼트를 포함하여 구현할 것이기 때문에 제목을 저렇게 하고 있다. Fragment에 대한 개념을 모른다면 https://edit0.tistory.com/10?category=449823 을 참고하면 될 것 같다.
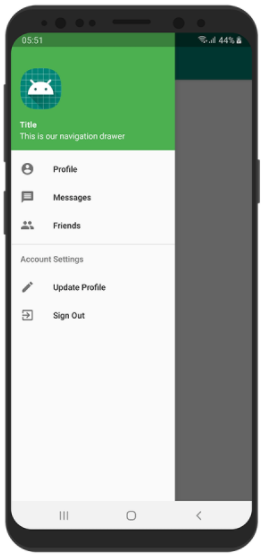
네비게이션 드로어는 우리가 흔히 볼 수 있는 앱 바의 맨 좌측 햄버거 모양 아이콘을 누르면 옆에서 나오는 화면이다. 흔하고 자주 쓰일 뿐만 아니라 여러 화면에 대한 바로가기 기능을 제공한다. 또한, 사용자 프로필 정보를 나타낼 때도 사용하기도 한다.
구현하기에 앞서 네비게이션 드로어를 쉽게 만들 수 있는 방법은 안드로이드 프로젝트를 생성할 때 Navigation Drawer Activity 를 선택하면 다 구현되서 나온다. (다만, 구조를 이해하여야 함)

코드가 이미 다 완성되어 있기 때문에 사용은 쉽다만, 참조하는 값들이나 어떻게 동작하는지 이해하기 어려울 수 있다.
그래서 어떻게 만들어지는지 하나하나씩 직접 구현해보도록 하겠다.
네비게이션 드로어의 구조 다음과 같이 되있다.
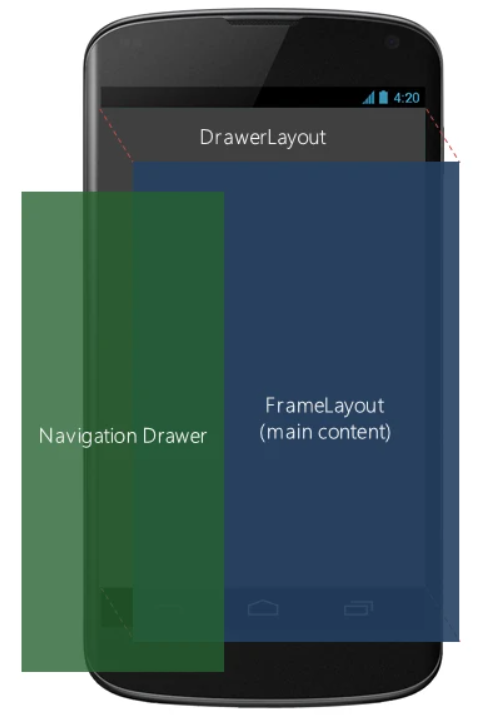
DrawerLayout 내에 Toolbar, FrameLayout, Navigation Drawer로 화면을 구성하면 만들 수 있는 큰 틀은 다 만든 것 이다. 여기에 네비게이션 드로어의 헤더, 내용을 구성해주고 반응하도록 만들어 주면 된다.
네비게이션 드로어를 사용하기 전에 외부 라이브러리를 추가해주어야 한다.
dependency 추가할 때
API 28 이하는
implementation 'com.android.support:design:28.0.0'API 29 부터는
implementation 'com.google.android.material:material:1.0.0'
코드
* 코드 순서를 보면서 어떻게 만들어지는 상상해본다면 아마? 이해하기 조금 수월할 것이다. (내 생각이다..)
res -> values -> style.xml
<resources>
    <!-- Base application theme. -->
    <style name="AppTheme" parent="Theme.AppCompat.Light.NoActionBar">
        <!-- Customize your theme here. -->
        <item name="colorPrimary">@color/colorPrimary</item>
        <item name="colorPrimaryDark">@color/colorPrimaryDark</item>
        <item name="colorAccent">@color/colorAccent</item>
    </style>

</resources>
보통 디폴트로 DarkActionBar로 되있을 것이다. 이것을 NoActionBar로 변경해준다. Toolbar를 사용할 예정이므로 기존에 제공되는 액션바를 지워준다.
navi_header.xml
<?xml version="1.0" encoding="utf-8"?>
<LinearLayout
    xmlns:android="http://schemas.android.com/apk/res/android"
    android:layout_width="match_parent"
    android:layout_height="match_parent"
    android:orientation="vertical">

    <ImageView
        android:layout_width="wrap_content"
        android:layout_height="wrap_content"
        android:src="@drawable/ic_launcher_background"
        android:layout_marginLeft="10dp"
        android:layout_marginTop="50dp"/>

    <TextView
        android:layout_width="wrap_content"
        android:layout_height="wrap_content"
        android:text="헤더"
        android:textSize="30dp"
        android:layout_marginLeft="10dp"
        android:layout_marginTop="10dp"/>

</LinearLayout>
네비게이션바 내의 상단에 보여지는 부분이다. (Ex.사용자 프로필)
res -> menu -> navi_menu.xml (menu 디렉토리를 만들어주고 그 안에 xml을 만들어 줘야한다)
<?xml version="1.0" encoding="utf-8"?>
<menu xmlns:android="http://schemas.android.com/apk/res/android">
    <group
        android:checkableBehavior="single">
        <item
            android:id="@+id/nav_item1"
            android:icon="@drawable/ic_launcher_background"
            android:title="아이템 항목1" />
        <item
            android:id="@+id/nav_item2"
            android:icon="@drawable/ic_launcher_foreground"
            android:title="아이템 항목2" />

    </group>

    <item
        android:title="항목 나누기">
        <menu>
            <item
                android:id="@+id/nav_item3"
                android:icon="@drawable/abc_vector_test"
                android:title="아이템 항목3" />
        </menu>
    </item>
</menu>
여기까지 만들었다면 네비게이션 헤더와 안에 보여질 아이템들이 준비가 되었다.
activity_main.xml
<?xml version="1.0" encoding="utf-8"?>
<androidx.drawerlayout.widget.DrawerLayout xmlns:android="http://schemas.android.com/apk/res/android"
    xmlns:app="http://schemas.android.com/apk/res-auto"
    xmlns:tools="http://schemas.android.com/tools"
    android:layout_width="match_parent"
    android:layout_height="match_parent"
    tools:context=".MainActivity"
    android:id="@+id/drawerlayout"
    android:fitsSystemWindows="true"
    tools:openDrawer="start">

    <androidx.coordinatorlayout.widget.CoordinatorLayout
        android:layout_width="match_parent"
        android:layout_height="match_parent">

        <com.google.android.material.appbar.AppBarLayout
            android:layout_width="match_parent"
            android:layout_height="wrap_content">

            <androidx.appcompat.widget.Toolbar
                android:layout_width="match_parent"
                android:layout_height="?attr/actionBarSize"
                android:id="@+id/toolbar" />

        </com.google.android.material.appbar.AppBarLayout>

        <FrameLayout
            android:layout_width="match_parent"
            android:layout_height="match_parent"
            android:id="@+id/fragment"/>

    </androidx.coordinatorlayout.widget.CoordinatorLayout>

    <com.google.android.material.navigation.NavigationView
        android:id="@+id/nav_view"
        android:layout_width="wrap_content"
        android:layout_height="match_parent"
        android:layout_gravity="start"
        android:fitsSystemWindows="true"
        app:headerLayout="@layout/navi_header"
        app:menu="@menu/navi_menu"/>

</androidx.drawerlayout.widget.DrawerLayout>
DrawerLayout 속성 내에 android:fitsSystemWindows="true"와 tools:openDrawer="start"가 있다. openDrawer는 start와 end로 지정할 수 있는데 start는 왼쪽, end는 오른쪽에서 화면이 나온다고 생각하면 된다. fitsSystemWindows는 잘 몰라서 찾아보았는데 뷰가 차지할 수 있는 영역을 상태바 및 소프트키 영역을 제외한 영역까지 확장해 주는 역할을 한다고 한다. (그런데 왜 안되지? 더 알아보도록 하겠다)
그 다음 CoordinatorLayout에서 네비게이션뷰를 제외한 화면들을 구성해준다. (앱 바(Toolbar) 와 화면(FrameLayout))
네비게이션뷰 내에서 위에서 완성한 header와 menu를 참조해준다.
* 앱 바에 보여질 이미지(햄버거 이미지)는 아무 이미지로 해도 상관없다.
MainActivity.java
public class MainActivity extends AppCompatActivity {

    DrawerLayout drawerLayout;
    Toolbar toolbar;

    fragment1 f1;
    fragment2 f2;
    fragment3 f3;
    FragmentManager fm;

    @Override
    protected void onCreate(Bundle savedInstanceState) {
        super.onCreate(savedInstanceState);
        setContentView(R.layout.activity_main);

        //style에서 NoActionBar로 하였기 때문에 직접 만든 툴바에 대한 설정을 해준다.
        toolbar = findViewById(R.id.toolbar);
        setSupportActionBar(toolbar);
        ActionBar actionBar = getSupportActionBar();
        actionBar.setHomeAsUpIndicator(R.drawable.ic_menu); //홈 아이콘 (이미지 아무거나 상관없음)
        actionBar.setDisplayHomeAsUpEnabled(true); //홈 버튼 작동 on
        actionBar.setTitle("네비게이션 드로어"); //앱 바 타이틀

        f1 = new fragment1();
        f2 = new fragment2();
        f3 = new fragment3();
        fm = getSupportFragmentManager();

        fm.beginTransaction().replace(R.id.fragment, f1).commit(); //첫 화면 지정

        drawerLayout = findViewById(R.id.drawerlayout);
        NavigationView navigationView = findViewById(R.id.nav_view);

        //네비게이션 뷰 아이템 선택 리스너
        navigationView.setNavigationItemSelectedListener(new NavigationView.OnNavigationItemSelectedListener() {
            @Override
            public boolean onNavigationItemSelected(MenuItem item) {
                item.setChecked(true);
                drawerLayout.closeDrawers(); //아이템 선택될 시 네비게이션 바 닫기

                int id = item.getItemId(); //getItemId() 메소드로 navi_menu.xml 내에 ID를 참조할 수 있다.

                switch (id){
                    case R.id.nav_item1:
                        fm.beginTransaction().replace(R.id.fragment , f1).commit();
                        break;

                    case R.id.nav_item2:
                        fm.beginTransaction().replace(R.id.fragment , f2).commit();
                        break;

                    case R.id.nav_item3:
                        fm.beginTransaction().replace(R.id.fragment , f3).commit();
                        break;
                }

                return true;
            }
        });
    }

    //액션바의 옵션 선택 이벤트 처리
    @Override
    public boolean onOptionsItemSelected(MenuItem item) {

        switch (item.getItemId()){
            case android.R.id.home:
                drawerLayout.openDrawer(GravityCompat.START);
                return true;
        }
        return super.onOptionsItemSelected(item);
    }
}
프래그먼트의 3개 화면 코드
fragment_fragment1.xml
<?xml version="1.0" encoding="utf-8"?>
<LinearLayout xmlns:android="http://schemas.android.com/apk/res/android"
    xmlns:tools="http://schemas.android.com/tools"
    android:layout_width="match_parent"
    android:layout_height="match_parent"
    tools:context=".fragment1"
    android:orientation="vertical"
    android:gravity="center">

    <TextView
        android:layout_width="wrap_content"
        android:layout_height="wrap_content"
        android:textSize="30dp"
        android:text="첫번째"/>

</LinearLayout>
fragment2.java
public class fragment1 extends Fragment {

    ViewGroup viewGroup;

    @Override
    public View onCreateView(LayoutInflater inflater, ViewGroup container,
                             Bundle savedInstanceState) {
        viewGroup = (ViewGroup) inflater.inflate(R.layout.fragment_fragment1, container, false);

        return viewGroup;
    }
}
이 방식으로 2개 더 만들면 된다.(복붙으로 숫자만 바꿔주면 된다)
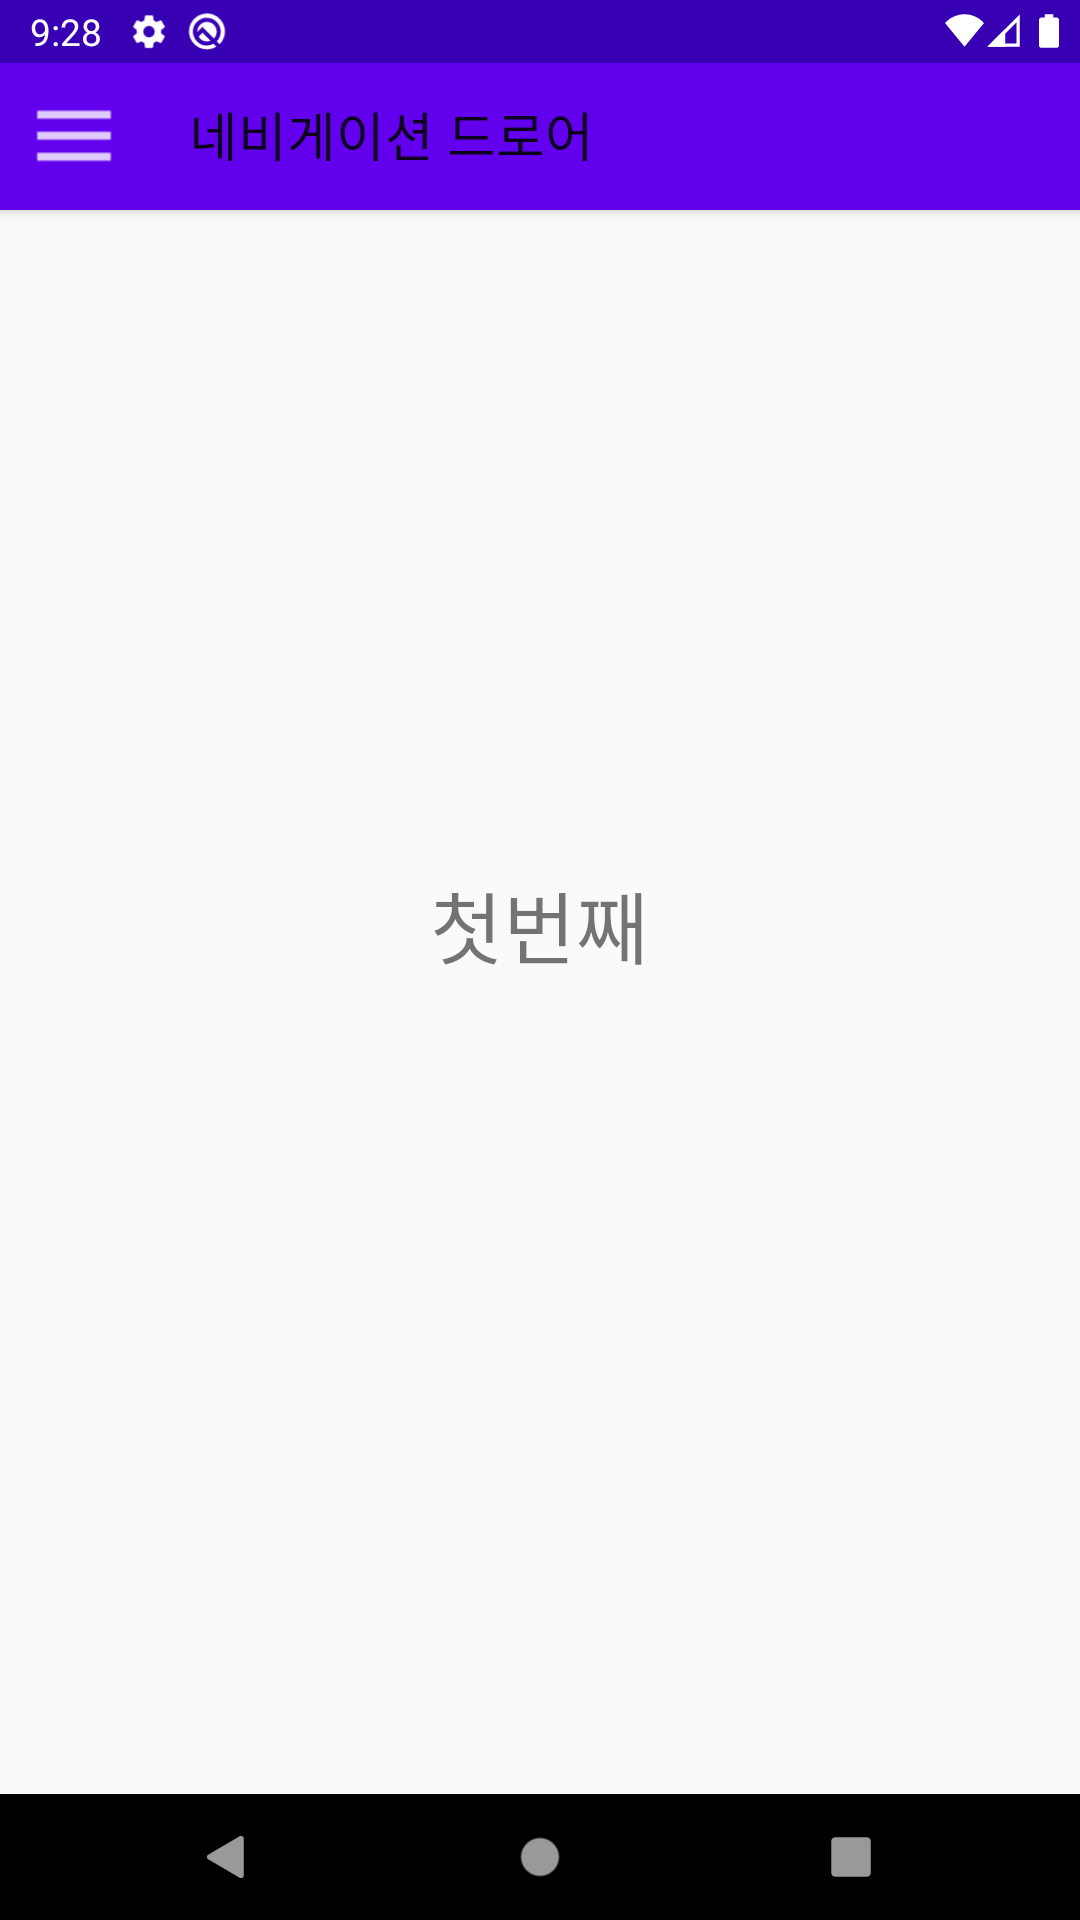
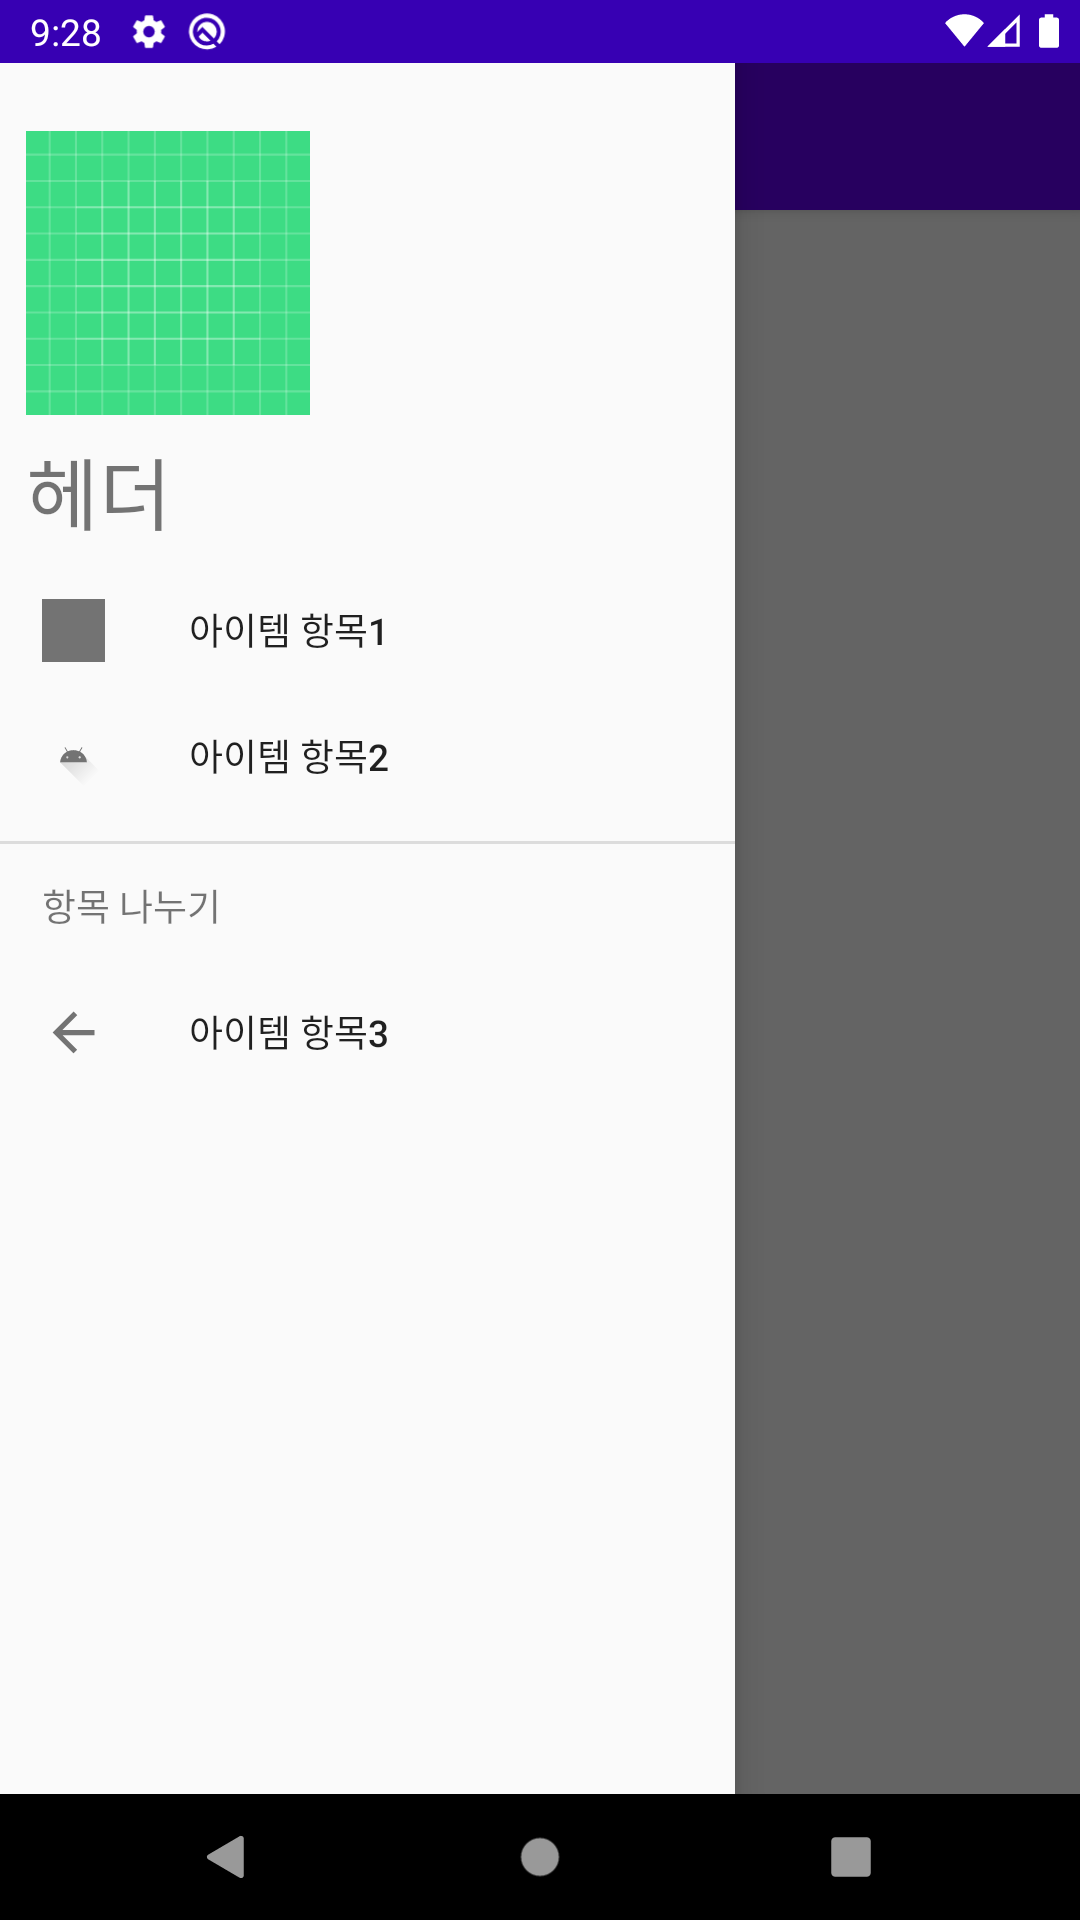
결과
부족한 점, 피드백 환영합니다.
감사합니다.
'안드로이드' 카테고리의 다른 글
| [안드로이드] Thread, Handler 이해 및 간단한 예제 (0) | 2021.01.07 |
|---|---|
| [안드로이드] Drawable 드로어블 (0) | 2021.01.05 |
| [안드로이드] Fragment 이해하기(3) / ViewPager 뷰페이저 (0) | 2021.01.04 |
| [안드로이드] Fragment 이해하기(2) / 상단 탭, 하단 탭 (0) | 2021.01.03 |
| [안드로이드] Fragment 이해하기(1) (0) | 2021.01.03 |


